
VidiScript – High availability Mysql Parameter
If you want to run your own YouTube or MySpace website, then VidiScript will do the job for you. In this tutorial, I will show you how to install VidiScript on a Linux web server supporting PHP & MySQL.
The tutorial is targeting, in particular, those who find difficulties installing PHP scripts for the first time. Before we start the installation, you need to know some setup requirements. VidiScript needs the followings features:
– PHP 4.3 or higher
– GD Graphics Library 2
– URL rewrites must be enabled
– Your server must support FFmpeg. If FFmpeg is not installed or you don’t know the path to it, then contact your web hosting provider and ask him/her for help.
Recommended Configuration
– safe_mode = off
– open_basedir = (no value)
– max_input_time = 1000
– max_execution_time = 1000
– upload_max_filesize = 200M
– register_argc_argv = On
– post_max_size = 200M
Getting Started
1- After downloading VidiScript archive file, extract it with Winrar or Winzip, then upload the script files to your web server with the help of an FTP software, use FileZilla or SmartFTP, for example. If you want to install Vidiscript on Windows with the help of WampServer, for example, then place your script files in www folder (C:wampwww).
2- To set up VidiScript, open, with your browser, install directory. This is the first page that must show up:

3- If you get red alerts, then some features are missing from your web server. You can ask your web hosting provider to assist you in fixing this. You can, anyway, continue installing the script, but don’t forget to add paths to FFMPEG later in your Admin area. Click Next Step button.
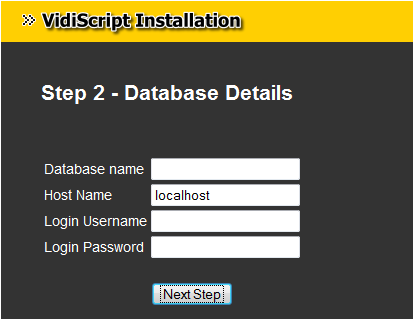
4- It’s time now to provide your database details. You need to create a MySQL database in cPanel or phpMyAdmin, then assign a username and password for it. After filling all required fields, click Next Step.
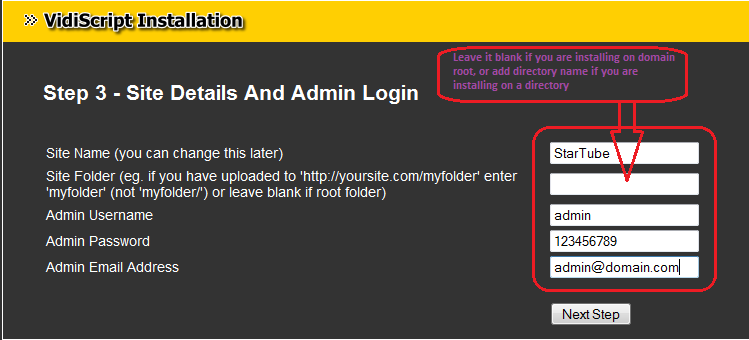
5- Now insert your site details. Give a name for your website, leave Site Folder blank if you are installing on the root of your website, or add the name of the folder on which you have uploaded your script. Add Admin username, password, and Email. Click Next Step.
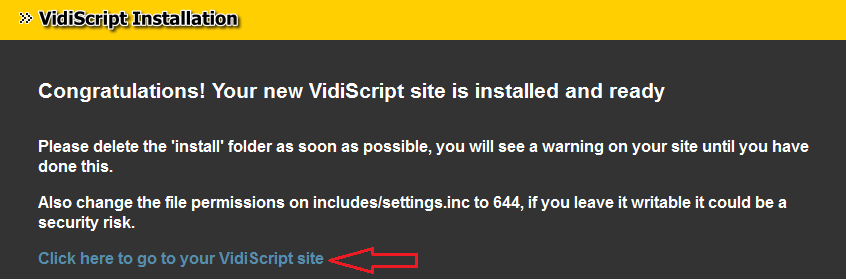
6- That’s it. VidiScript is now installed and ready to use. Before you proceed, delete install directory from your web server and CHMOD includes/settings.inc to 644. Click now Click here to go to your VidiScript site link to test your website.
7- This is how your user’s interface should look like:


